Maven is the easiest way for all kinds of Web Applications, to make the project work in terms of Build and Dependencies. Provide below the step by step to install the maven on your windows machine.
Step 1 – Go to Apache Download Page :
here find the relevant suitable package based on your system requirements.


step 2 – Install the Maven
Install the downloaded maven into your local machine.

Step 3 – Configure the Maven Home in Environment Variable
Add the M2_HOME variable in Environment Variable, the Path should be the installation home of Maven.
You can configure the Variable in User Variable or System Variable, If it is in User Variable, the Configuration will not be exposed to other system users.


Step 4 – Configure the Path in an Environment Variable
Add the Maven bin path in Environment Variables

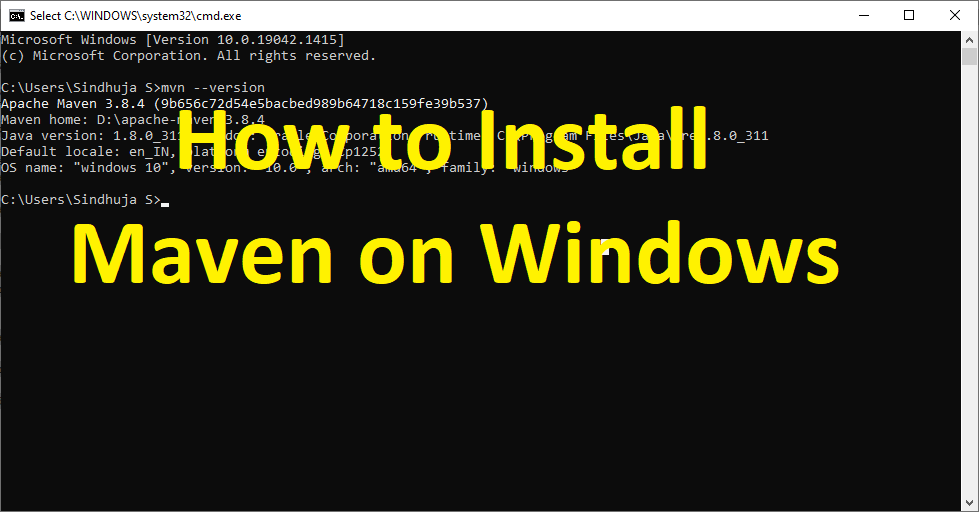
Step 5 – Test Maven Installation
You can test the Maven Installation through Command Prompt.
Command to verify the maven installation is mvn --version, this command will return the version of the configured maven on your system.


Perfect, Now you are ready to create your application with Maven.
